
The cold weather should not stop you from experimenting with your looks this winter. Fashion blogger Mimi Ikonn gets you the perfect ensembles to prep your winter style using things that you might already have in the depths of your closet. Here’s how to go about it.
Category: DIY
This section focusses on tutorials, ideas and inspiration for DIY fashion trends. Whether recycling your old clothes or simply breathing new life into your old jewellery, our DIY ideas will help you recreate fashion trends at home. Trendspotters is a place that lets you explore easy to understand fashion DIY steps to craft new clothes/ accessories or make up. Learn to fatter yourself with our lifestyle DIY guide and become a style diva in no time.
-

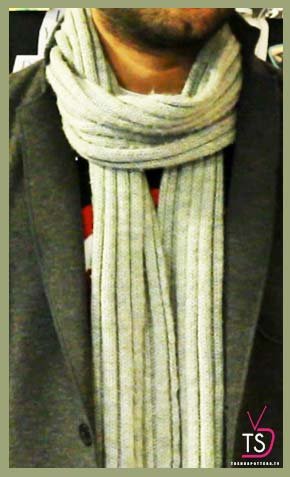
5 ways men can sport the scarf this winter!
There’s no better winter accessory for men than a scarf or muffler nattily thrown about the neck. Tying them the right way can sometimes be all you need to get that perfect dapper look. Watch this video to check out different and stylish ways to sport the scarf this season.
https://www.youtube.com/watch?v=116RDEEqtRQ
You can also take a look here:
1. Basic Drape
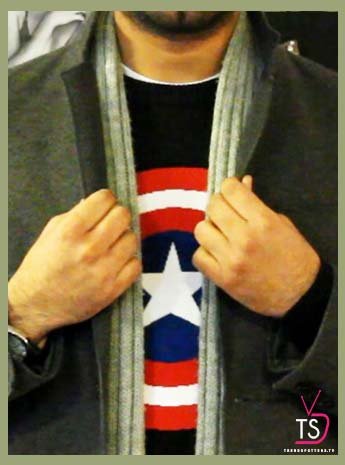
2. Over the head
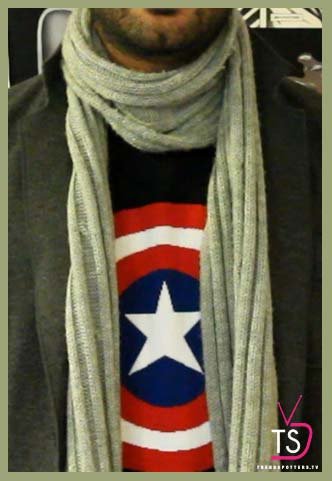
3. Over the knot
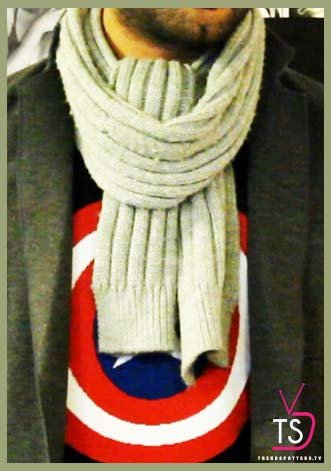
4. Parisian knot
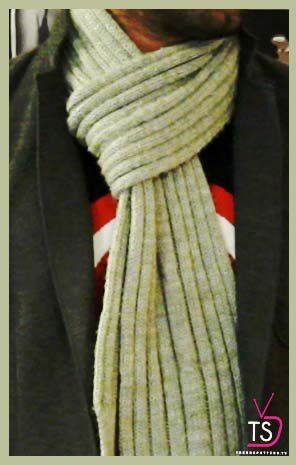
5. Cowl knot
-

DIY – Convert your Neck Tie into a Bow Tie in less than 2 minutes
Learn how to convert your traditional neck tie into a bow tie with these simple steps.
Step1. Place your tie on a flat surface. Take the thicker end and work your way around to the other side depending on the desired length of the bow.
Step2. Pinch the upper panel as shown in the picture.
Step3. Now take the thinner end crossing over the dimple to the other side and then do it again twice to form a ‘zee’.
Step4. You will see the left side has three folds and the right one has two.

Step5. Take the thinner panel from mid-way.
Step6. Turn it over in a vertical fashion as shown in the picture.
Step7. Take it towards the backside to form a knot and adjust. You can now see the bow taking its shape.
Step8. Take the same panel and make a loop and fix it into the knot at the back like this.

And there you go! You just converted your boring old tie into a fancy bow tie.

-
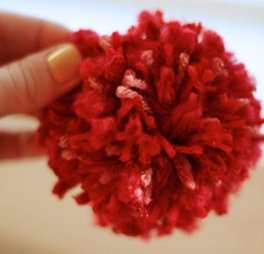
DIY Christmas pom poms for your tree!
Need more decorations for your Christmas tree? Here’s a simple tutorial for you. Turn those extra wool yarns at home into these pom poms. Here’s how.
There are never enough Christmas tree decorations. Now make these Christmas pom poms at home and use them as fillers for your tree. All you need is a pair of scissors and wool yarns of your favourite colours.
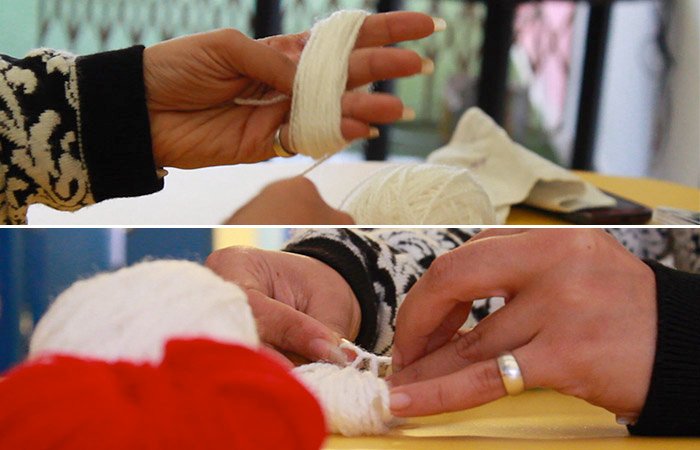
Roll the yarn around your fingers while keeping the first end of the yarn at the center of your palm, cut the other end and tie the two ends together towards the center of the roll.
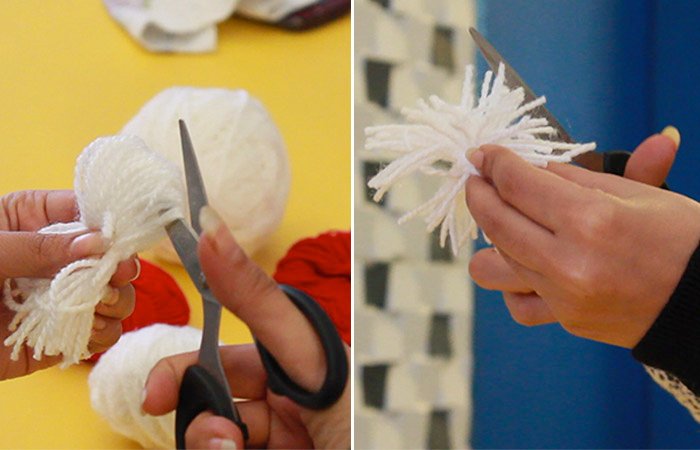
Cut the opposite ends of the roll into pom pom like shapes and you’re done.
-

DIY Gift Wrapping for Christmas: Make your gift stand out!
Christmas is all about making your loved ones feel special. And great gift wrapping ideas for Christmas presents add that extra element to your gift. This simple DIY tutorial will help you add that special something to your Christmas gifts and make them stand out. Learn gift wrapping for Chistmas with this video and spread the holiday cheer.
Things you need: Coloured craft paper, ribbon, a pair of scissors and a pencil
Step 1: Draw a feather on the coloured paper and cut it out.

Step 2: Now take the feather and bend it slightly inwards towards the center.

Step 3: Cut the sides into a feather-like shape.

Step 4: Tie a ribbon around the present and fix the feather like this.

You may add more feathers of different colours if you feel like.
-

Unique Christmas gifting ideas – Make your Christmas special with these simple hacks
That time of the year is here! The days are shorter, the air is getting crisper and you will soon start noticing people putting gifts under the Christmas tree. Christmas is all about traditions that help you create memories with your family and loved ones and Christmas gifts make up the most important part of this cherished time. While everyone usually gets the Christmas gifts ideas right, the festival demands for them to be presented in a certain manner. Spruce things up this season by using these unique Christmas gift ideas and add special little elements to your presents. We have put together a list of simple DIY hacks that can turn your Christmas gifting experience into a whole lot of fun.
#1 Add a customised pillow with your gifts

http://www.pinterest.com/pin/416371928024252172/ Add a pillow with a personalised message with your gifts. Get a plain white pillow and write your Christmas message with a permanent marker. Or turn it into a postcard pillow if you can’t be with your friends or family just like the one shown above.
#2 An oven mitt full of kitchen accessories

http://www.pinterest.com/pin/57843176439803593/ All mothers love new accessories for the kitchen. This Christmas fill an oven mitt with kitchen gadgets like a knife, kitchen spatulas, a timer, rolling pins and more. Tie a ribbon around it and be prepared to receive some mother lovin’!
#3 Personalised mugs

http://www.pinterest.com/pin/548805904561936576/ Simple Christmas gift ideas to please your parents; buy two plain mugs and write personalised messages on them. You may add their tea/coffee preferences on them and voila, there’s that special affordable add-on with your presents.
#4 Manicure kit in a jar

http://www.pinterest.com/pin/452822937507490435/ Looking for unique Christmas gift ideas for your sister/girlfriend is a difficult task. Here’s something that could help. Buy manicure essentials like cotton balls, nail paint, nail paint remover, a nail clipper etc. Get a mason jar or an old jam jar and fill it up with cotton first and then the other products. Tie a ribbon across the lid. You may also add a small message card on the side and you’re done.
#5 Rudolph gift card envelopes

http://puertabella.blogspot.in/2009/12/rudolphs-gift-card.html A perfect add-on for kids, these Rudolph gift envelopes are very easy to make. Put small personal handwritten messages in these envelopes and make Christmas gifts special!
-

DIY: Tips to organise a man’s travel bag
If your girlfriend or wife isn’t around to help you pack, then here is a simple way of packing your vacation bag in less than 5 minutes. Take a look at a quick tutorial that helps you organize your travel bag and make your life easy!
Starting with the clothes. Carefully roll your trousers like this and let it be the first item of clothing that goes inside the bag. Your shorts go next. Now roll your shirts like the trousers ensuring the collar remains on the outside so it doesn’t get crushed. This method saves you a lot of space and the clothes remain wrinkle free.

Your rolled t-shirt goes in next like this. You can now cover the items with your hand towel on the top so it comes in handy. Don’t forget your socks, fold them like this and place them in the side pocket.

About the essential bath & grooming products, they can be clubbed together in a small wash bag. You fill this bag with necessary items like your perfume, tissue papers and other toiletries. Carefully place the wash bag in one corner inside the travel bag.

For the travel accessories like your belt and sunglasses here’s what you need to do. Zip up your bag and ensure that its safe and tight and enjoy your vacation!
-

DIY: 4 ways to turn your scarf into a dress
DIY: 4 ways to turn your scarf into a dress
Here are four ways of turning your scarf into a brand new dress. Learn these easy hacks to make beachwear more interesting.
#1 Tube Dress
You can turn your scarf into a tube dress. Drape your scarf around your back like this and tie the ends together in a tight secure knot. Now take the loose ends, tie them at the back to enhance the waistline and you’re done.

#2 The One-Shoulder Dress
This one is a slight variation of the tube dress. Drape the scarf around your back and tie the two ends in the front. Now take one end and put it across your shoulder, while taking the other end from below your arm, towards the back. Tie these two ends securely at the back to give it that one shouldered dress look and get ready to steal the show.

#3 Summer Shrug
A summer shrug is great for highlighting your back when you want to tie your hair up on a beach. Find the centre point of the longer side of your scarf and tie it with one end. Repeat this step with the opposite end. Now put your arms through the loops you just created and your shrug’s ready.

#4 The Maxi Dress
This one’s my favourite. Take the ends of the shorter side of the scarf and tie them around your neck. Now take two ends from the centre of the scarf and wrap them around your waist tightly. Tie these ends in a double knot at the back and just like that you’ve added a new dress to your wardrobe.

These dresses are amazing to wear on the beach, on a hot summer day and for those days when you can’t find anything to wear in that big wardrobe.
-

DIY: Sort your handbag out
If you are also tired of digging into your handbag for hours every time you need something then this tutorial is your saviour. Organise your handbag with these simple techniques and make your life easy.
If you struggle to look for stuff in your handbag every time you open it then here are some simple hacks for you.

Organise your cards, receipts and money in separate compartments of your wallet like this. Carry a coin wallet to store all your coins in it for easy accessibility.
Try to put all your makeup essentials like lip colours, perfumes, face powder in a makeup bag. It makes your makeup easy to find and avoids the makeup from spilling and spoiling the bag.

Make sure you always use a case to put your sunglasses in so they don’t get all scratchy.

Use a bright case to protect your phone and cover it, while it’s in your bag. Add a key chain to your keys so you don’t lose the keys in the bag.

-
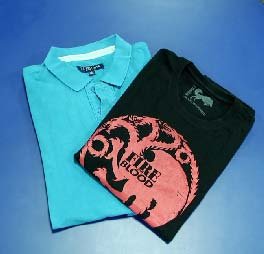
DIY: Fold your T-shirt in just 2 seconds!
Are you tired of trying to fold your clothes with that time-consuming, cumbersome and conventional technique and yet never really getting it right? Wait a second – Yes! A second is all you need to fold your t-shirts with this simple trick below!
Folding your t-shirt was never easier or faster!
Step1: Spread the tee on a flat surface.
Step2: Mark points on the top, middle and bottom of the garment. Let’s call them points 1, 2 and 3.

Fold your tshirt in 2 sec Step3: Now, pinch the t-shirt points 1 and 2
Step4: Take point 1 all the way across to point 3 like this.

Step5: Grab 1 & 3 together.
Step6: Pull out point 2; adjust and it’s done!

Easy wasn’t it?
Watch the video to find out more:
-

Men’s DIY: Style your old Brogues
Before you plan on throwing away those old brogues in your shoe rack, we are going to give you a reason to think again!
Scroll below for this simple DIY hack and walk out of the house with shoes as good as new.
Rediscover the magic of styling your old brogues up with this simple hack.
Jazz up those shoes by switching out the old pair of laces from your Brogues and adding a little twist to them with new coloured ones.

All you have to do is get a pair of laces in funky/quirky colours of your choice and voila!
You can also experiment with different styles of lacing them up to create your own dapper look!
Watch the video to find out more:
-

DIY: Watercolour Nail Art
If you want to add a little twist of colour to your nails, here’s a tutorial for you! Get a watercolour impression on your nails in less than five minutes right at home.
Things you’ll need: base white or pink nail paint, nail paints in other different colours, a thin applicator brush, acetone and top coat.
Step 1: Apply the base coat on your nails and let it dry.
Step 2: Dab the applicator brush with one colour and dip the brush into acetone.
Step 3: Pat the brush onto your nails gently.

Repeat this step with different colours and make sure you wipe the brush in between colours.
Step 4: Apply a layer of top coat to finish.
Watch this video to learn this DIY hack: